Bloomingdale Cabinet Refacing
Crown Molding Addition in Bloomingdale, FL
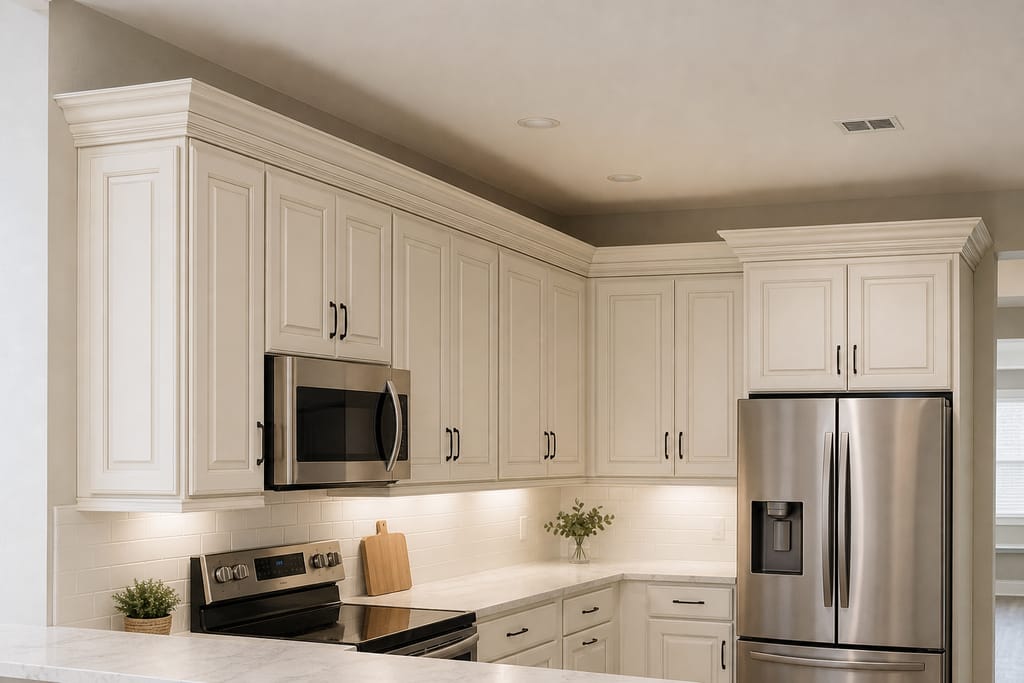
Crown molding addition in Bloomingdale finishes cabinet tops with matched profiles and stain, added solo or with any refacing project.
- 15+ Years local experience
- 500+ Projects completed
- Licensed & Insured
Serving Bloomingdale and nearby communities.
Cabinets that stop short of the ceiling or just end flat on top can look unfinished even after a full reface. Bloomingdale Cabinet Refacing adds crown molding sized and stained to match your cabinets, closing that gap and giving the kitchen a finished top line.
This works as a standalone add-on to existing cabinets or as the final touch on a refacing project.
What's included
What's included with Crown Molding Addition
Typically included: measuring cabinet tops, cutting molding to fit corners and angles, mounting molding along cabinet runs, finish-matching to existing or new cabinetry.
Optional: corner molding blocks for complex angles, upgraded wood molding profiles.
Customer prep: clear the counter space below the cabinets getting molding so the crew has full access.
Want a clearer scope?
Get a Free EstimateHow it works
How our Crown Molding Addition process works
 Step 1
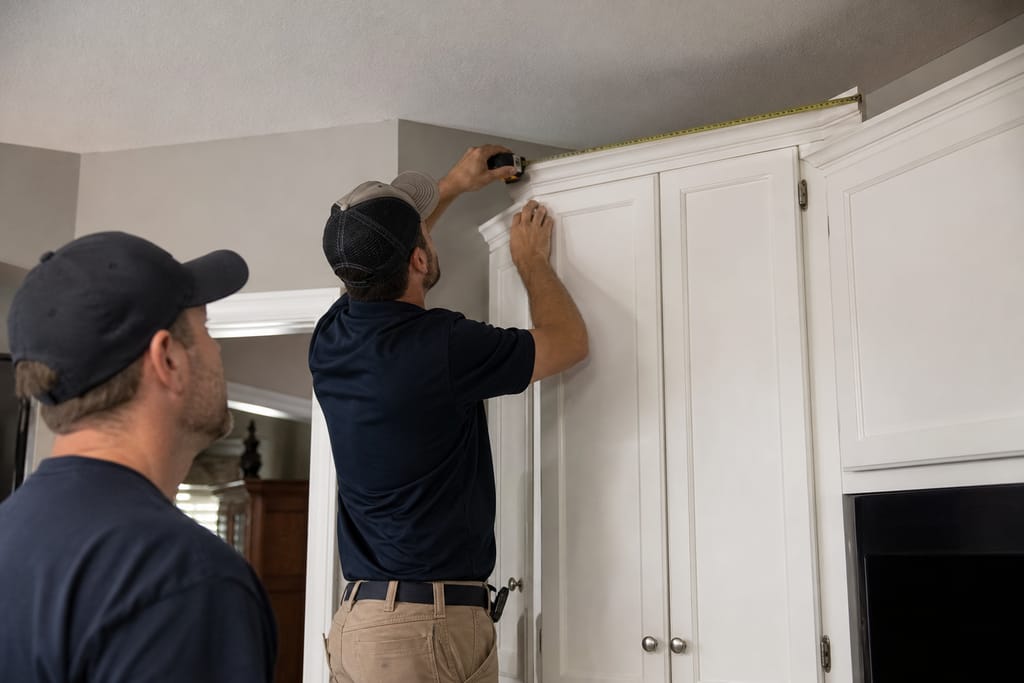
Space Measurement
Cabinet tops are measured to determine molding length and angles needed.
 Step 2
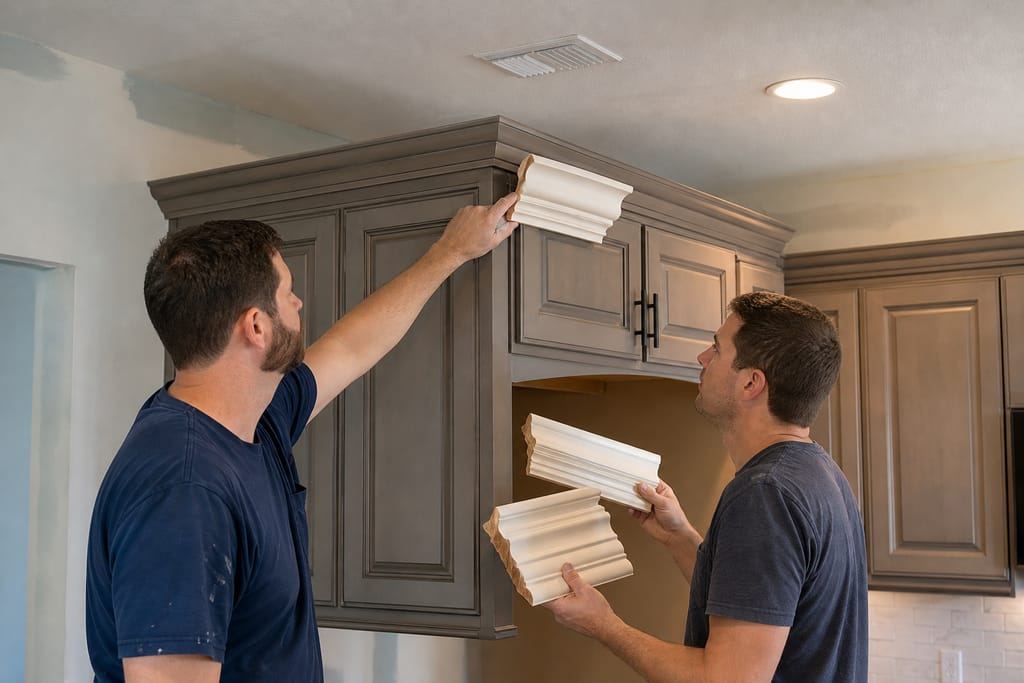
Molding Style Selection
Clients choose molding profiles that complement their cabinet design.
 Step 3
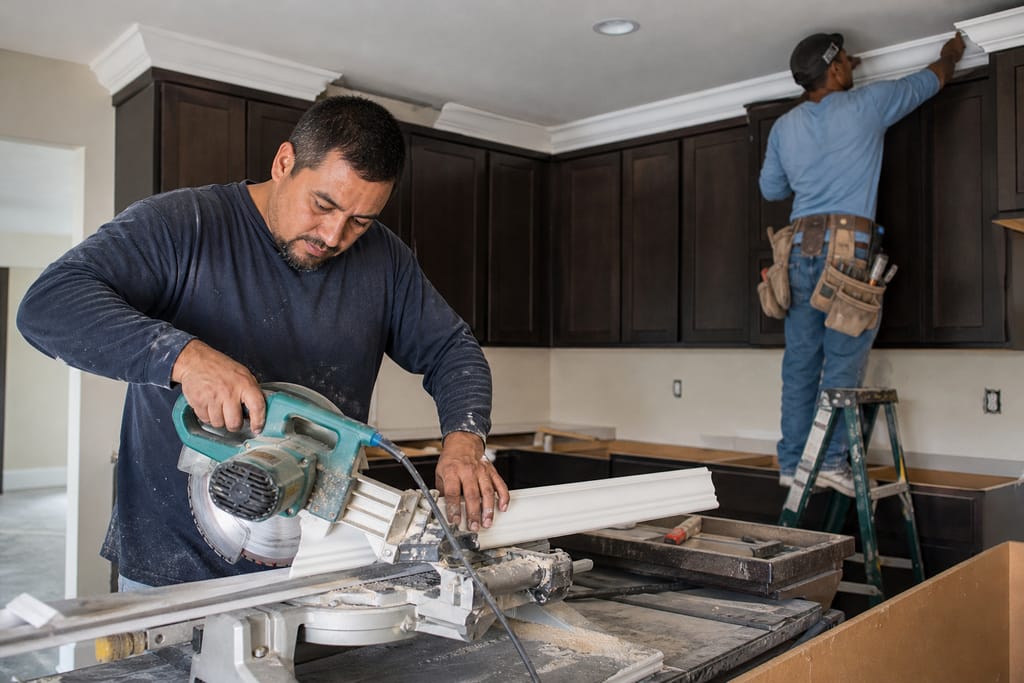
Cutting and Fitting
Molding pieces are cut to precise angles for proper corner fitting.
 Step 4
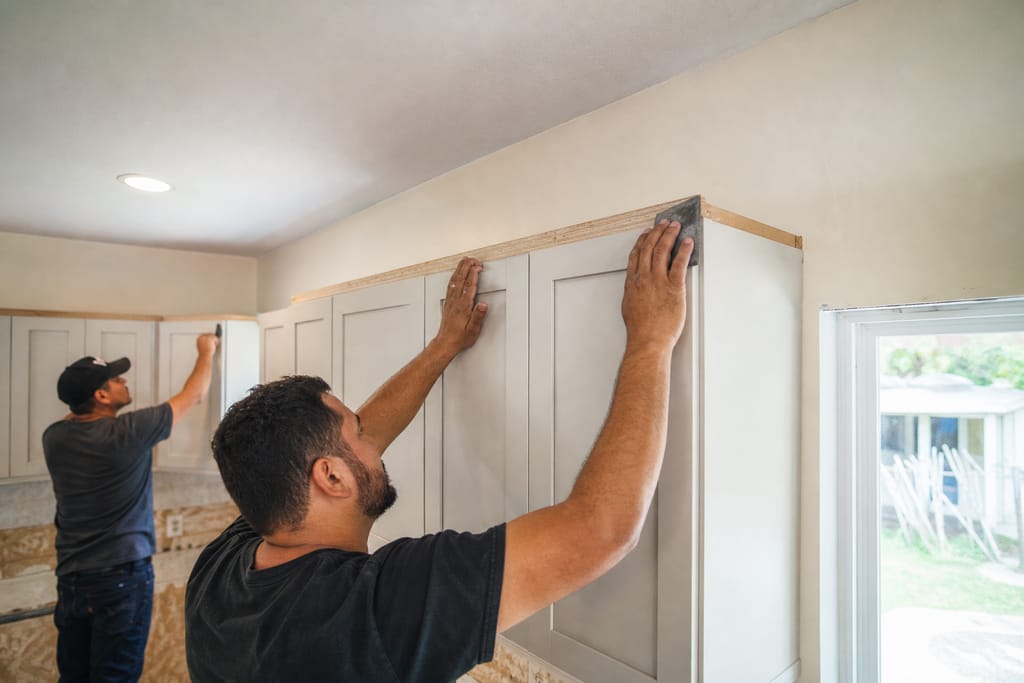
Surface Preparation
Cabinet tops are prepared to ensure secure molding attachment.
 Step 5
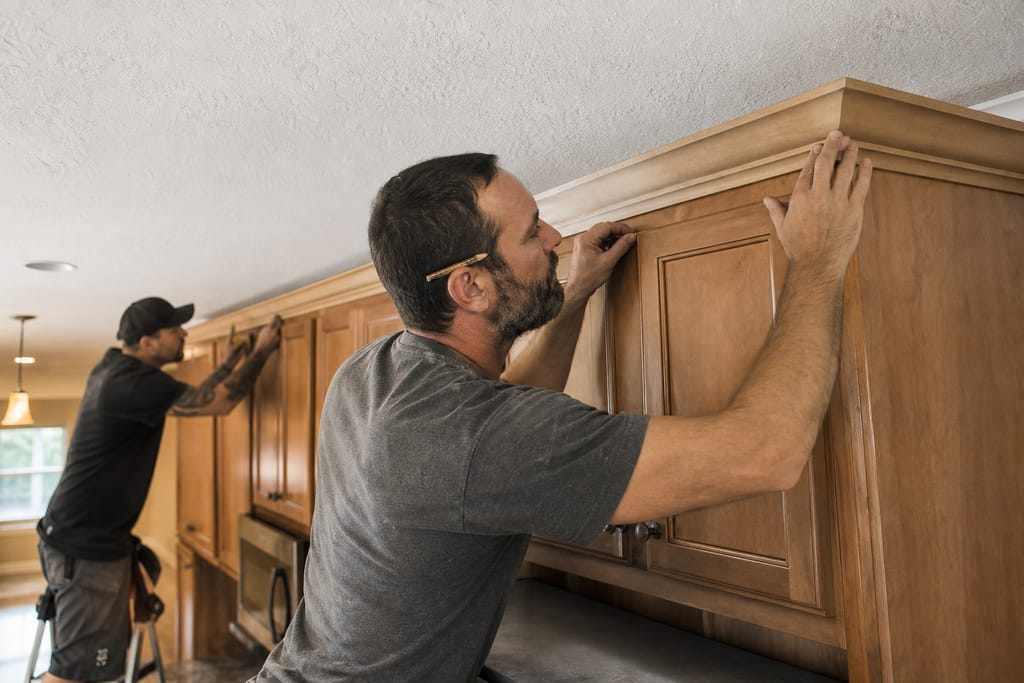
Molding Installation
Molding is attached and secured along the tops of cabinet runs.
 Step 6
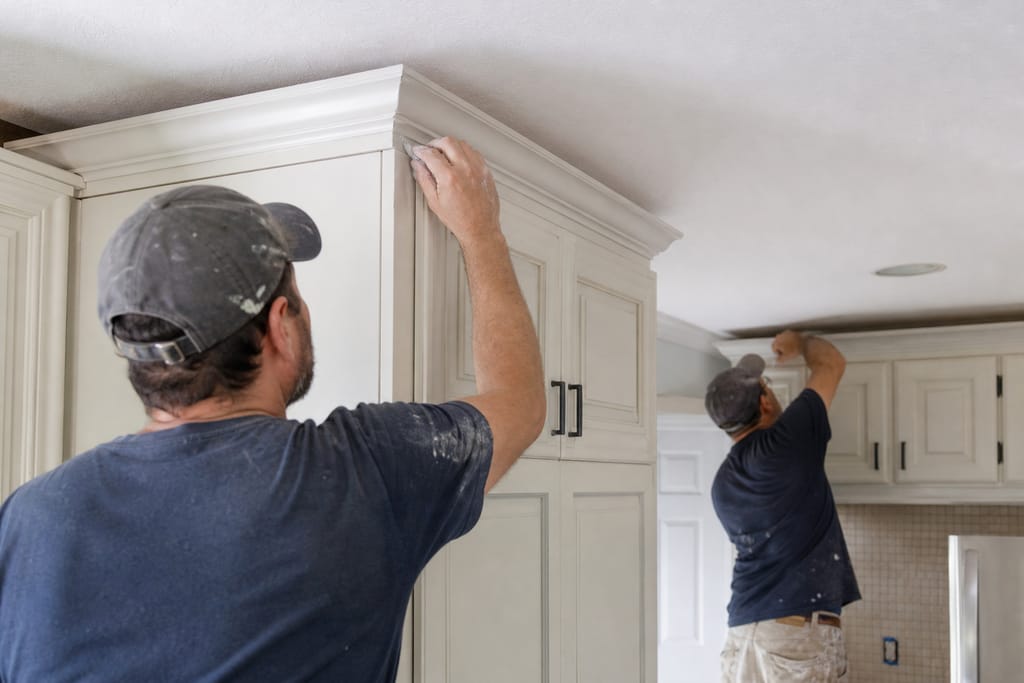
Finish Touch-Ups
Seams and edges are finished to blend molding with existing cabinetry.
Materials
Materials and methods for Crown Molding Addition
Molding profile and finish matter as much as the install itself, since a mismatched stain color stands out immediately on cabinet tops.
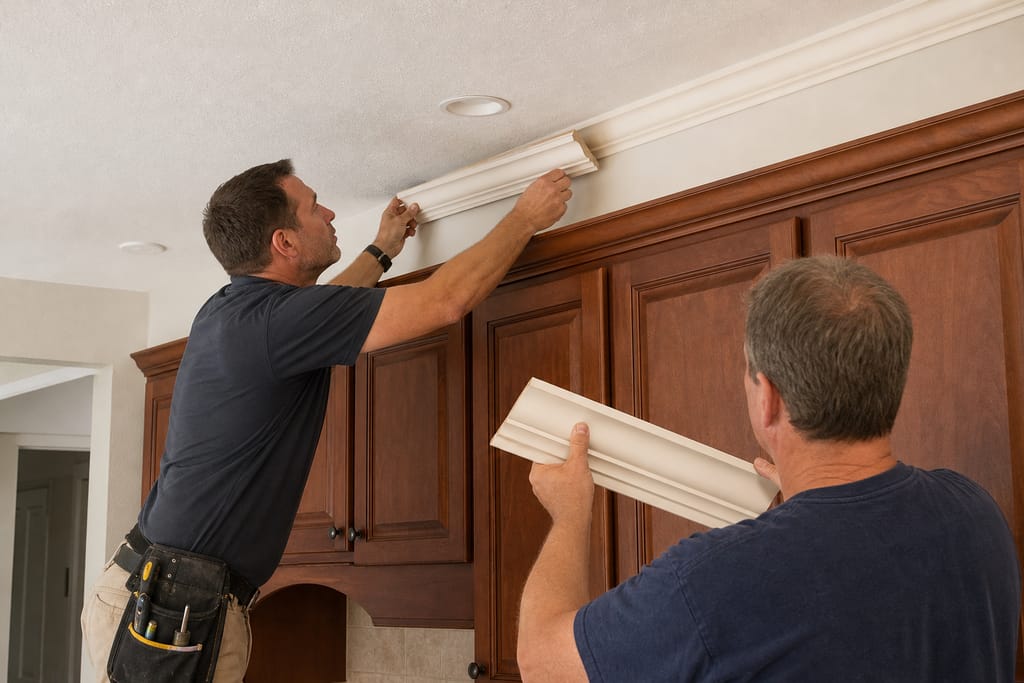
Crown Molding Profiles
A range of profiles, from simple to ornate, add decorative detail suited to the cabinet style below.
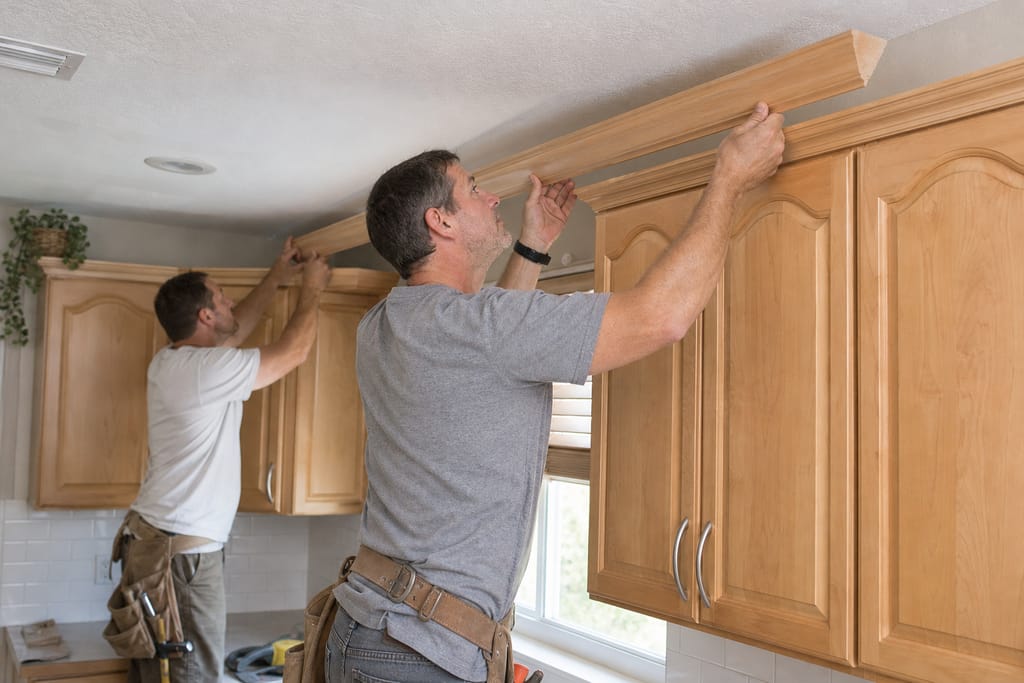
Wood Molding Strips
Solid wood strips hold up well and take stain evenly, which matters for matching older Bloomingdale cabinet finishes.
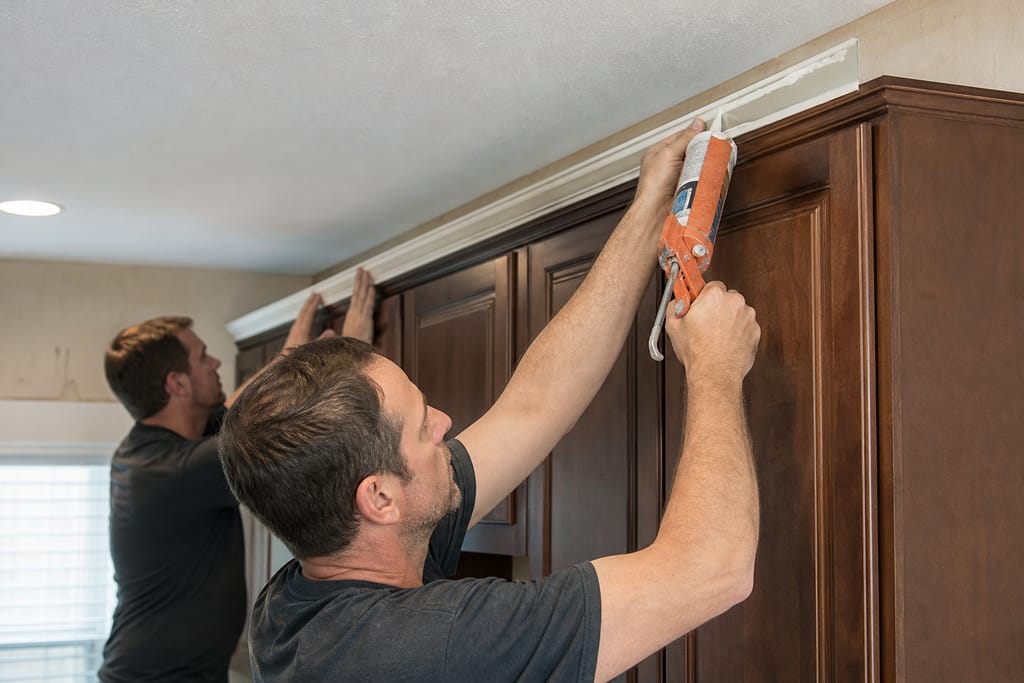
Molding Adhesive
Adhesive secures molding to cabinet tops without relying on nails alone, useful on painted or finished surfaces.
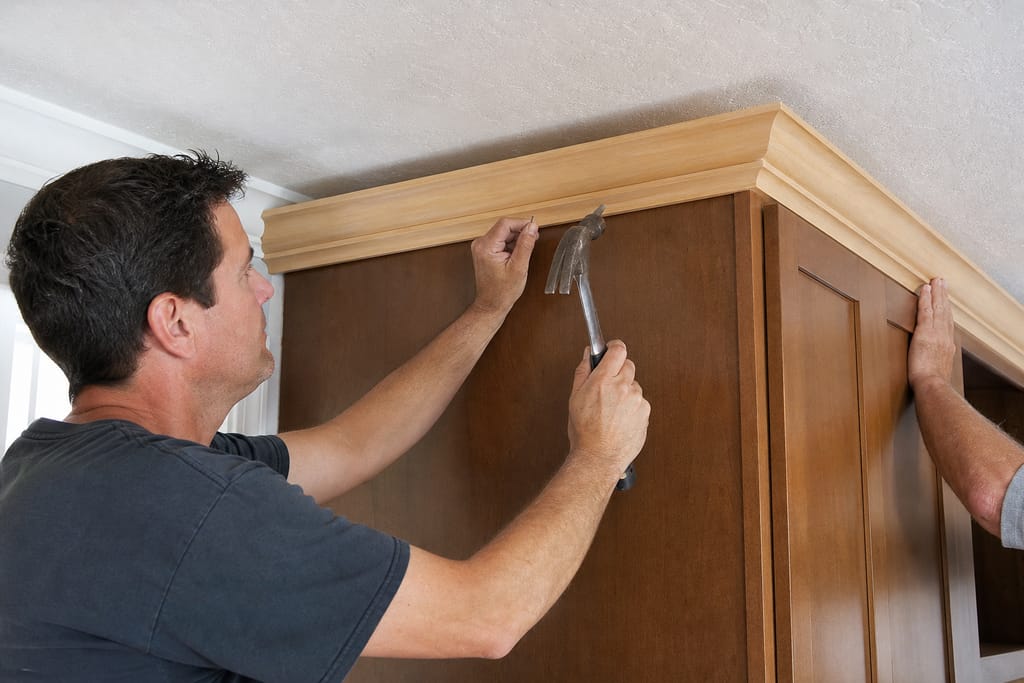
Finish Nails
Finish nails add structural support at corners and long runs where adhesive alone isn't enough.
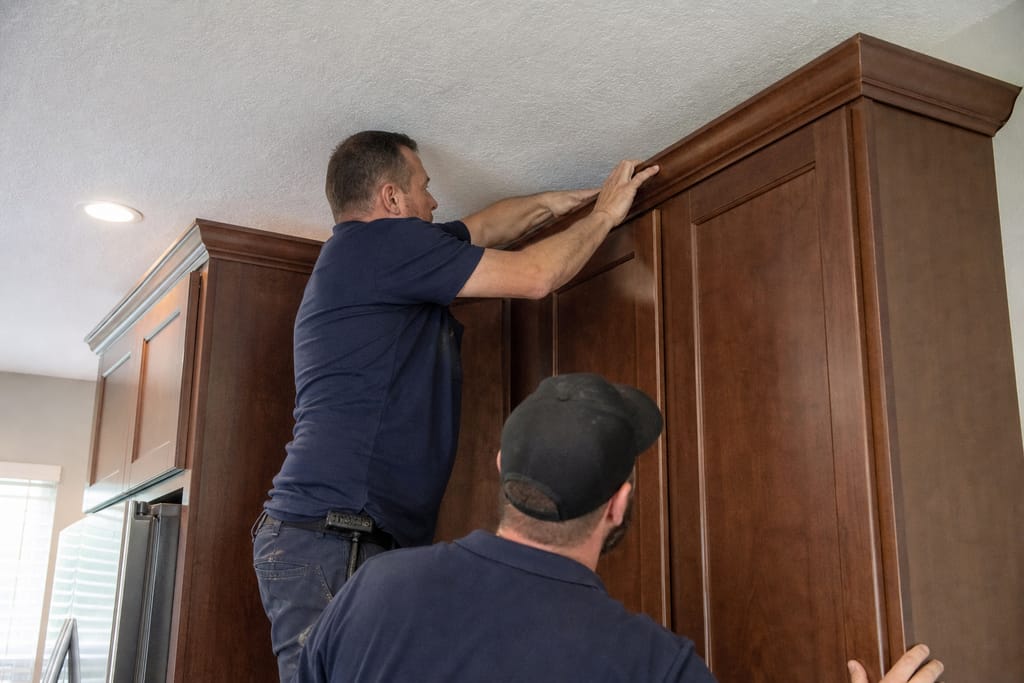
Matching Stain or Paint
Finish is color-matched to the existing cabinetry so the molding reads as original, not added on.
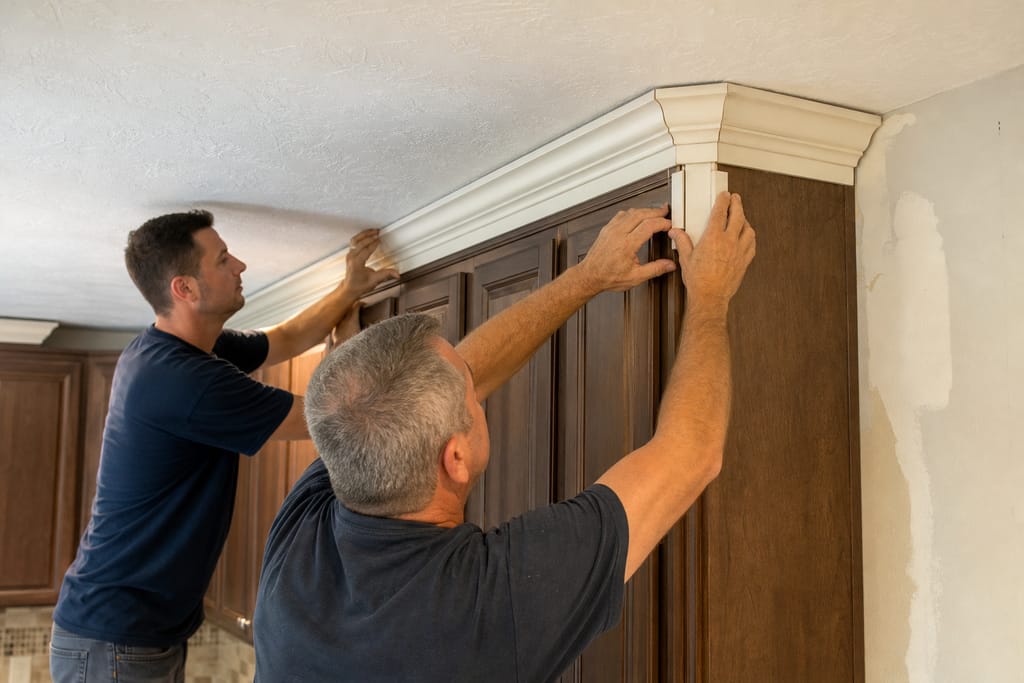
Corner Molding Blocks
Corner blocks simplify tricky angle cuts on kitchens with non-standard cabinet layouts.
Questions on materials?
Get a Free EstimateTimeline
How long does crown molding addition take?
Molding addition is a quick project since it's finish work on top of cabinets that are already in place.
- 01
Estimate and measure
same day - 02
Molding order and finish match
1 week - 03
Install
1 day
Need a schedule that fits?
Get a Free EstimateCodes & permits
Permits and codes for Crown Molding Addition
Check with Hillsborough County only if molding work is part of a larger renovation that triggers other permit requirements.
| Typically needs a permit | Often no permit |
|---|---|
| None typical for molding installation alone | Crown molding measurement |
| — | cutting |
| — | installation |
| — | Finish matching and touch-up work |
Need help with permits?
Get a Free EstimateDIY vs pro
DIY vs hiring a pro for Crown Molding Addition
| DIY | Hire a pro |
|---|---|
| Installing simple straight-run molding on a single, unobstructed cabinet section | Cutting corner miters that actually close tight, since a slightly off angle leaves a visible gap at every joint |
| Touch-up staining on molding that's already cut and fit | Matching stain or paint color across molding and existing cabinets so the addition doesn't look tacked on |
| — | Fitting molding around uneven ceilings or walls common in older homes |
Not sure DIY vs pro?
Get a Free EstimateWhen to call
When to call for Crown Molding Addition
Call (863) 869-2358 or request a free estimate to see what molding would look like on your kitchen.
- Your cabinets stop short of the ceiling with a visible gap on top
- You just finished a refacing project and want a finished top line
- Cabinet tops look unfinished compared to the rest of the kitchen
Seeing warning signs?
Get a Free EstimateFAQs
Crown Molding Addition FAQs
Can crown molding be added to cabinets that aren't being refaced?
Molding can be added to existing cabinets as a standalone job as long as the finish can be matched closely.
How much does crown molding addition cost in Bloomingdale?
Most kitchens run $400-$1,200 depending on linear footage and molding profile complexity.
Will the molding match my existing cabinet finish?
We color-match stain or paint during the estimate and test on a sample before installing, so the final result blends with the cabinets below.
How long does molding installation take?
Most kitchens take about one day for install once molding is cut and finished to match.
Does crown molding need to go all the way around the kitchen?
It's typically added to cabinet runs that reach near the ceiling. Runs with large gaps above them usually aren't good candidates and we'll flag that during the estimate.
More services
Other Cabinet Refacing services
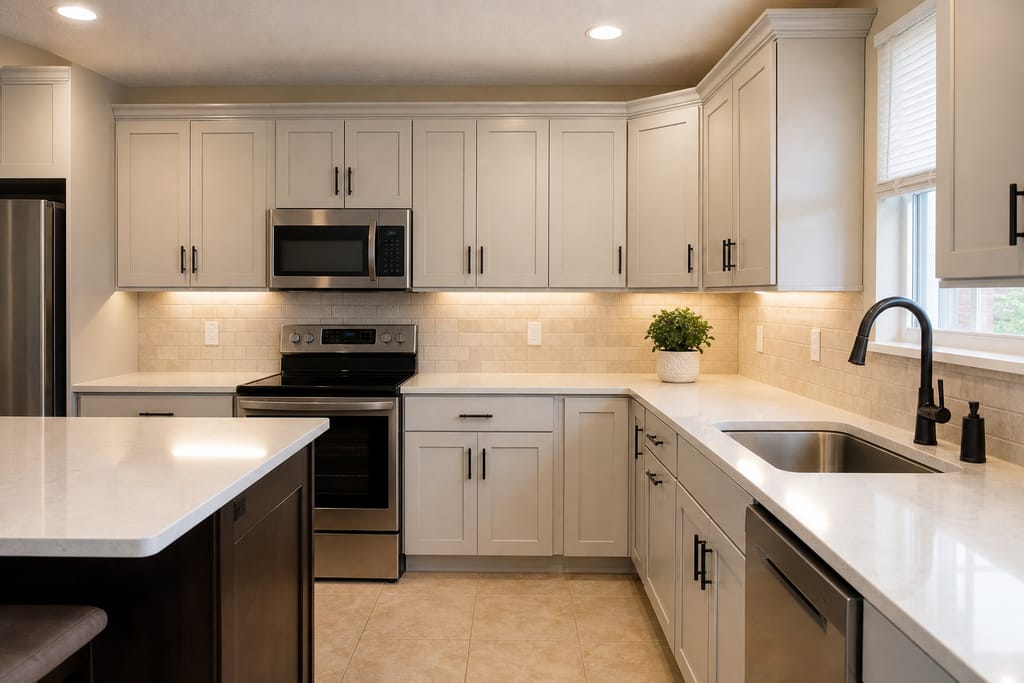
Cabinet Refacing
Cabinet refacing in Bloomingdale replaces doors, drawer fronts, and box skins with free estimates and matched finishes.
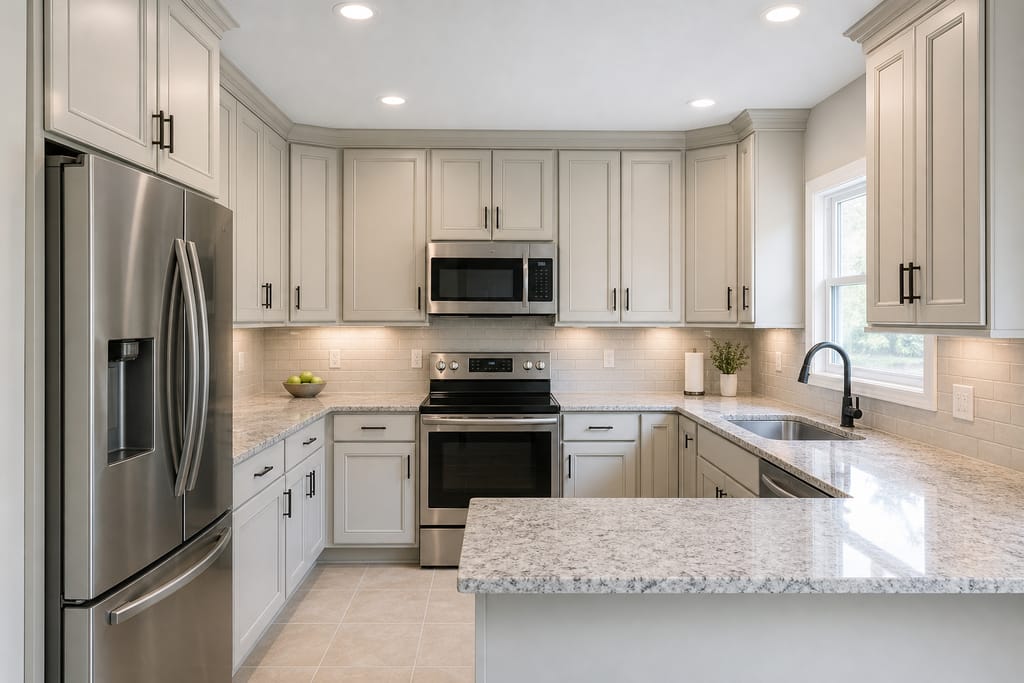
Kitchen Cabinet Refacing
Kitchen cabinet refacing in Bloomingdale, FL with matched veneer finishes, new doors, and soft-close hardware. Free estimates, no gutting your kitchen.
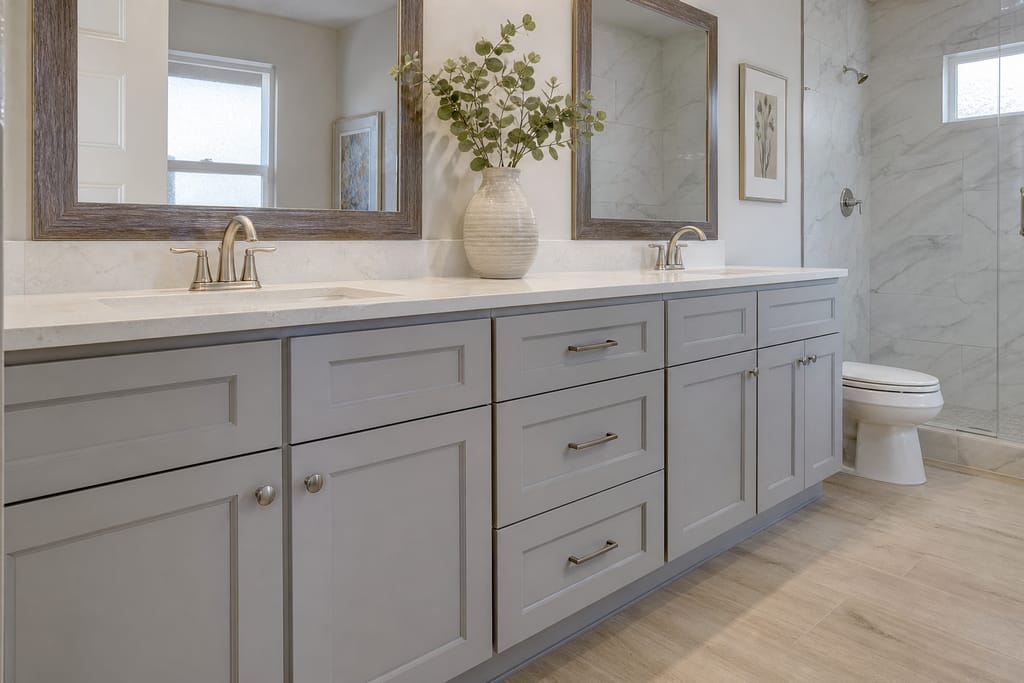
Bathroom Vanity Refacing
Bathroom vanity refacing in Bloomingdale, FL with moisture-resistant finishes and new doors. Fixes swollen boxes and peeling laminate. Free estimates.
Ask about Crown Molding Addition
Tell us about the project and how to reach you.